How to Host Your First Website on IIS in Windows Server 2022
After installing Internet Information Services (IIS) on Windows Server 2022, the next big step is hosting your first website. Whether you're deploying a static site, a .NET app, or an internal portal, IIS provides a powerful and flexible platform for web hosting.
This guide walks you through the full process of hosting your first website on IIS.
Step 1: Prepare Your Website Files
Create or copy your website files to a directory on the server. For example:
C:\inetpub\wwwroot\MyFirstSite
Make sure this folder contains an entry file like index.html, default.aspx, or home.html
Step 2: Create a New Website in IIS
- Open IIS Manager
(Runinetmgror open it via Server Manager > Tools > IIS Manager) - In the Connections pane, expand the server node
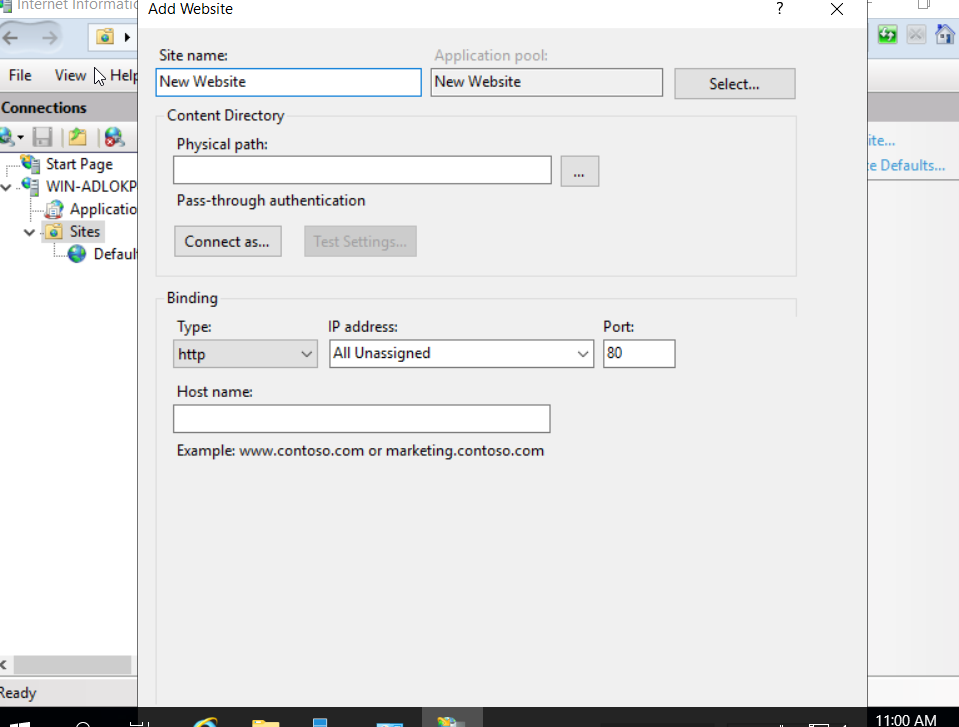
- Right-click Sites > choose Add Website
- Fill in the website details:
- Site Name:
MyFirstSite - Physical Path:
C:\inetpub\wwwroot\MyFirstSite - Binding: Keep
http, set Port to80, and add a host name (e.g.,myfirstsite.local) if needed
- Site Name:
- Click OK to create the site
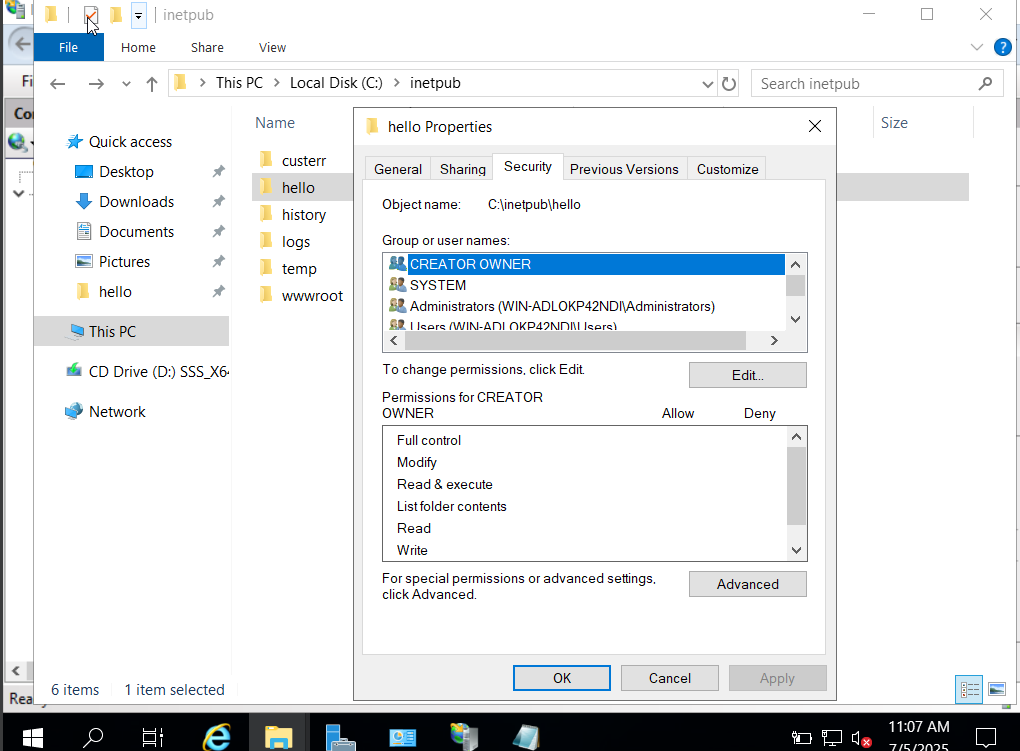
Step 3: Set NTFS Permissions (Optional but Recommended)
Ensure that IIS has read access to your website folder.
By default, IIS uses the IUSR or ApplicationPoolIdentity account:
- Right-click your website folder > Properties > Security
- Ensure these accounts have Read & Execute permissions
Step 4: Set a Default Document (Optional)
If your site uses a specific file as the homepage (e.g., home.html instead of default.html):
- In IIS Manager, select your site
- Open Default Document
- Add or reorder the document names so your home page loads automatically
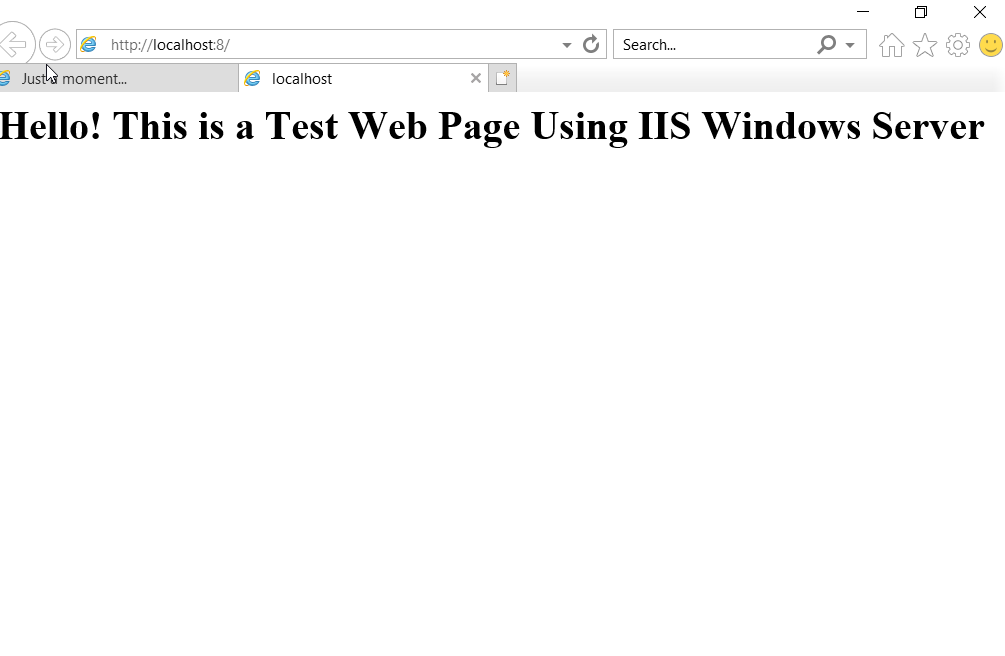
Step 5: Test the Website Locally
Open a browser on the server and go to:
http://localhostor
http://localhost:80You should see your custom website instead of the IIS default page.
If you set a host name, use it like:
http://myfirstsite.local(You may need to add it to your hosts file for testing)
Step 6: Test Remotely (Optional)
If you want to access the site from another machine:
A. Open the Firewall Port
Run this PowerShell command to allow HTTP (port 80):
New-NetFirewallRule -DisplayName "IIS HTTP" -Direction Inbound -Protocol TCP -LocalPort 80 -Action AllowB. Use Server IP or DNS Name
From another device, open a browser and visit:
http://<ServerIPAddress>If it loads, your IIS site is publicly accessible on your network.