How to Create a Subdomain in cPanel
A subdomain is a subsection of your main domain that functions as a separate website. For example, if your main domain is example.com, a subdomain could be blog.example.com. Subdomains are useful for organizing website content, hosting different sections of a website, or setting up testing environments.
If your cPanel does not have a Subdomains option, you can still create a subdomain using the Domains section. Follow these simple steps:
Step 1: Log in to cPanel
- Open your web browser and go to yourdomain.com/cpanel
- Enter your username and password, then click Log in
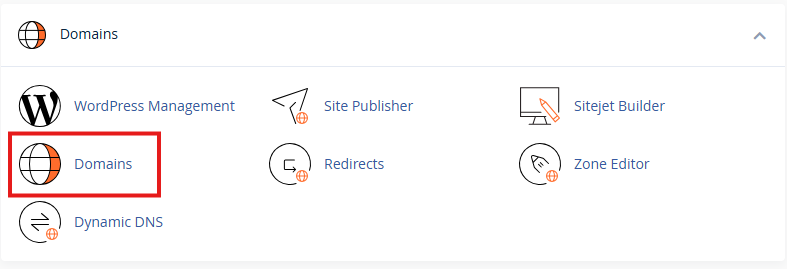
Step 2: Navigate to the Domains Section
In the cPanel dashboard, locate and click on Domains
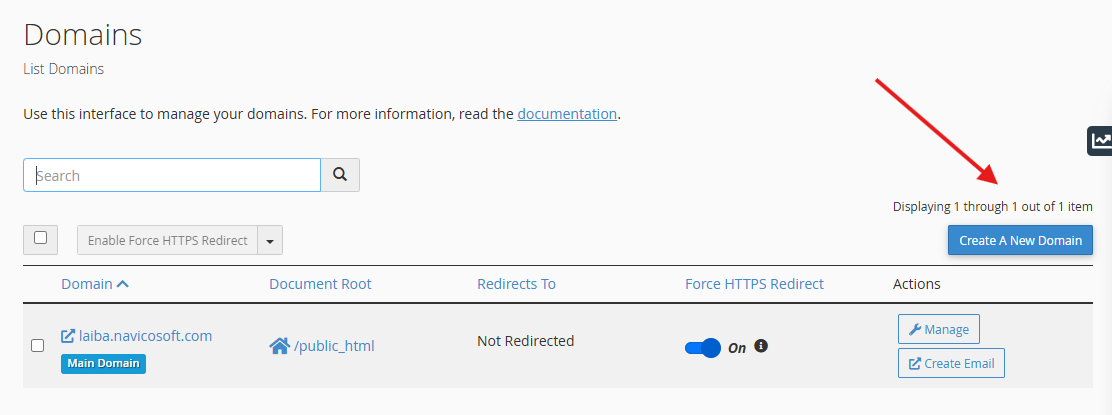
Click on the Create A New Domain button
Step 3: Create the Subdomain
In the Domain field, enter the subdomain name you want to create.
- Example: If you enter blog, it will create blog.yourdomain.com
Enter the full subdomain in the domain field ❌ Incorrect: blog ✅ Correct: blog.yourdomain.com
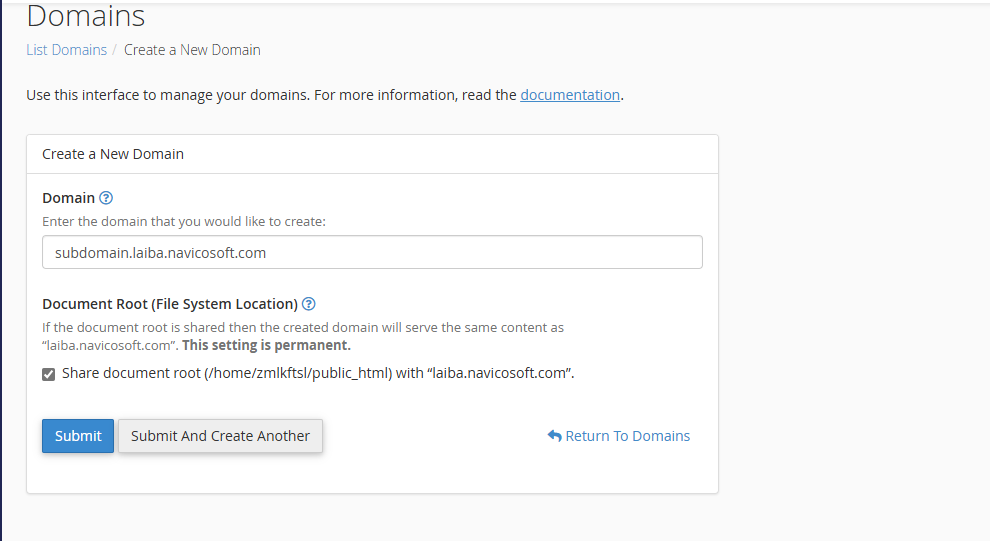
The system will automatically generate a folder for your subdomain inside the public_html directory
Click Submit or Create Domain
Step 4: Verify and Manage the Subdomain
- Once created, the subdomain will appear in the Domains section of cPanel
- You can now upload files to the subdomain’s directory using File Manager or FTP