How to Connect Your .PK Domain to Shopify
Ready to launch your Pakistani business online with Shopify? Awesome! If you’re wondering how to connect your .pk domain to your new Shopify store, don’t worry—we’ve got you covered with this simple guide to get you up and running quickly!
Why Use a .pk Domain with Shopify?
Using a .pk domain (like yourstore.pk or yourstore.com.pk) instead of the default yourstore.myshopify.com makes your store look professional, builds trust with Pakistani customers, and boosts local search rankings
The .pk Domain Challenge
PKNIC’s system doesn’t offer full DNS control by default, which can make adding Shopify’s required DNS records tricky. Navicosoft provides DNS hosting to give you the control you need, or we can guide you through PKNIC’s interface if you prefer managing it directly.
Step-by-Step Guide: Connecting Your .pk Domain to Shopify via PKNIC
Step 1: Purchase or Verify Your .pk Domain
- Already have a .pk domain? Log in to your PKNIC account at pknic.net.pk.
- Need a domain? Get one through Navicosoft for Rs. 36000. Contact us at support@navicosoft.com or call +92 300 7889502, and we’ll set it up with PKNIC.
- Ensure your domain is active and linked to your PKNIC account.
Step 2: Access DNS Hosting (Recommended for Full Control)
Since PKNIC’s default setup limits DNS management, we recommend Navicosoft’s DNS hosting service (Rs. 7000/year) for full control over your DNS records.
- How to set it up: Contact Navicosoft, and we’ll update your domain’s nameservers to our DNS hosting platform (e.g., ns1.navicosoft.com, ns2.navicosoft.com).
- Don’t want DNS hosting? You can still use PKNIC’s interface (see Step 3), but it’s less flexible.
Step 3: Add Shopify DNS Records via PKNIC
If you’re using PKNIC’s default DNS , follow these steps to add Shopify’s required records:
Go to pknic.net.pk and sign in.
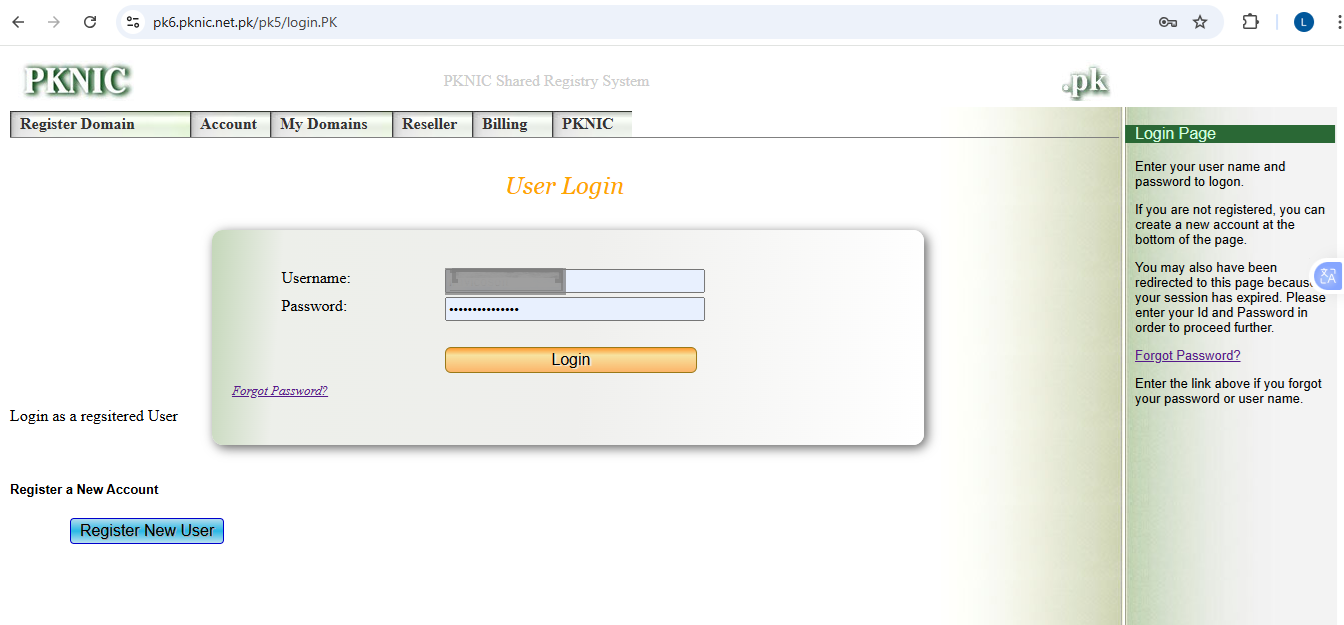
![]()
Click on Manage domain and select your domain (e.g., yourstore.pk) from your account dashboard.
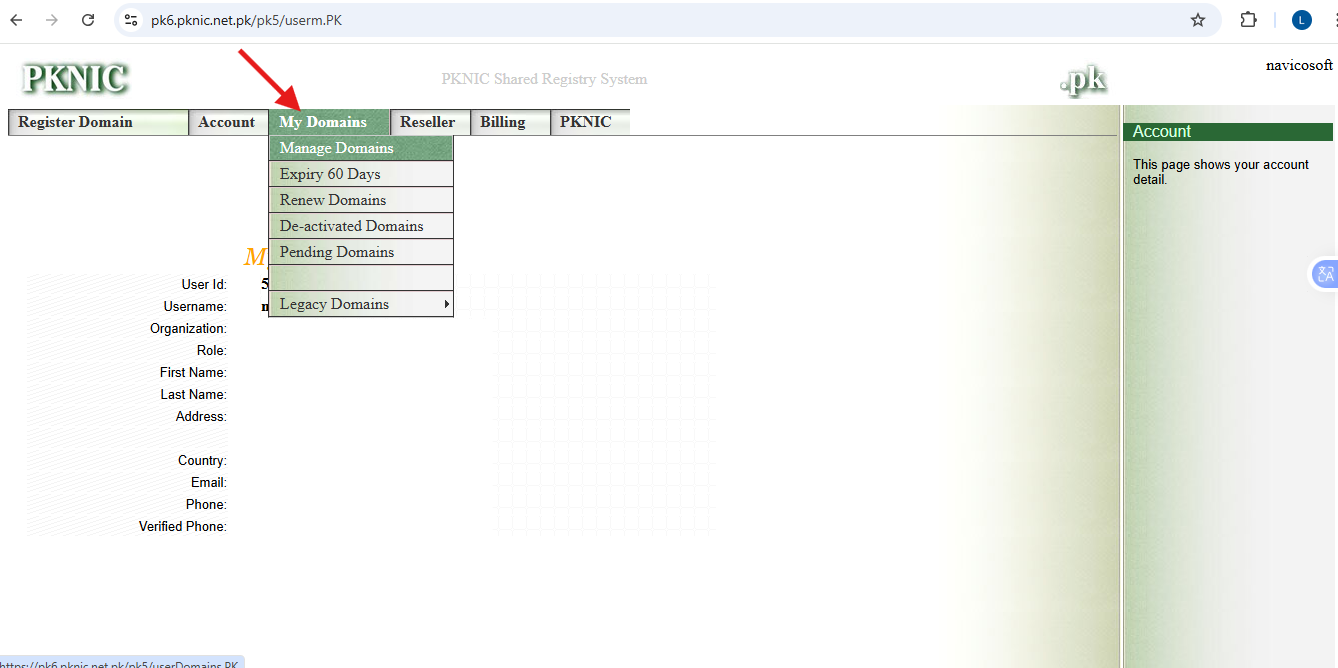
After clicking on “Manage Domain”, you will see the list of all domains in your account. From there, you can select the required domain name that you want to connect with Shopify.
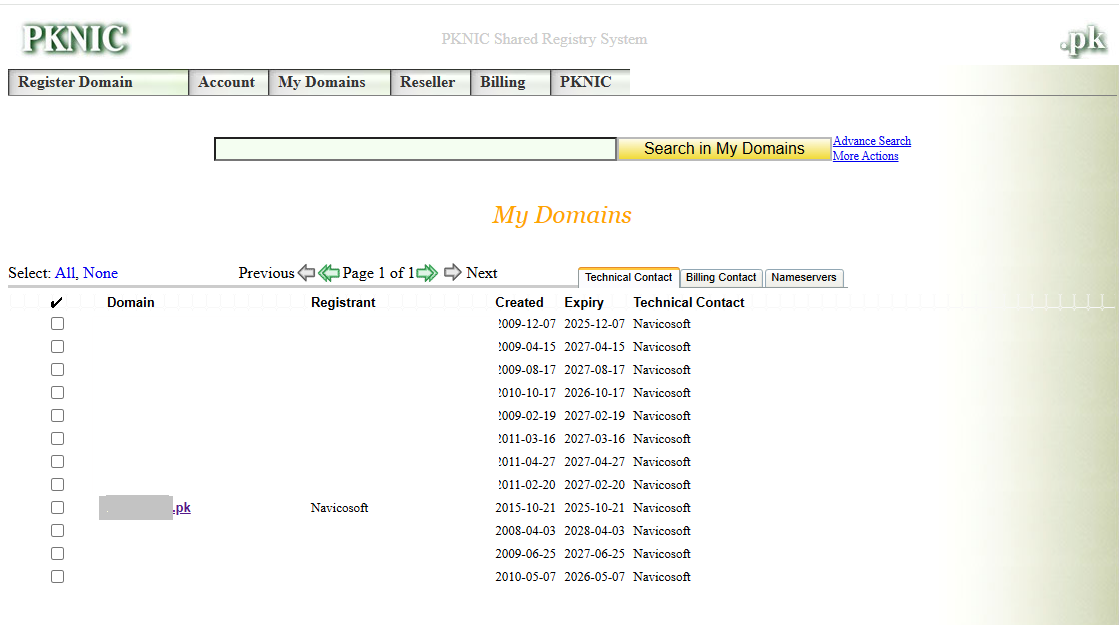
![]()
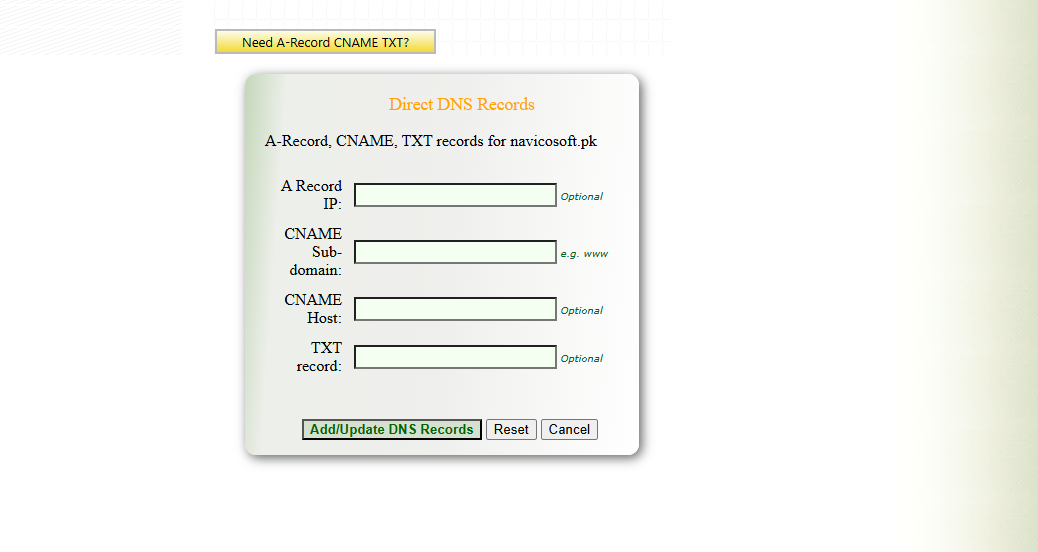
After selecting your domain, scroll down the page. You will see the “Nameservers” option, and below that, you will find options for A-Record, CNAME, and TXT. Please click on the relevant option to proceed.
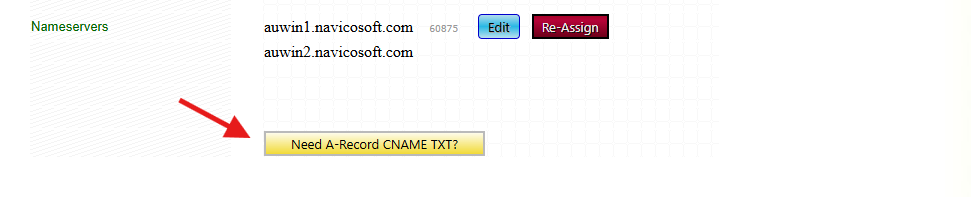
Add the A Record:
- Create a new A record:
- Name: @ (or leave blank for the root domain)
- Points to: 23.227.38.65 (Shopify’s IP address)
- Save the record.
Add the CNAME Record:
- Create a new CNAME record:
- Name: www
- Points to: shops.myshopify.com
- Save the record while clicking on Add/Update DNS Records
Verify in Shopify:
- In your Shopify admin, go to Settings > Domains.
- Click Connect existing domain, enter your .pk domain (e.g., yourstore.pk), and follow the prompts to verify the connection.