How to set up DNS records for your domain
DNS records are the backbone of your online presence, directing traffic from your domain to your website, email servers, and other services. Whether you’re launching a new site or managing an existing one, understanding and configuring your DNS records correctly is crucial. Here’s a comprehensive guide to setting up DNS records for your domain.
Step-by-Step Guide to Setting Up DNS Records
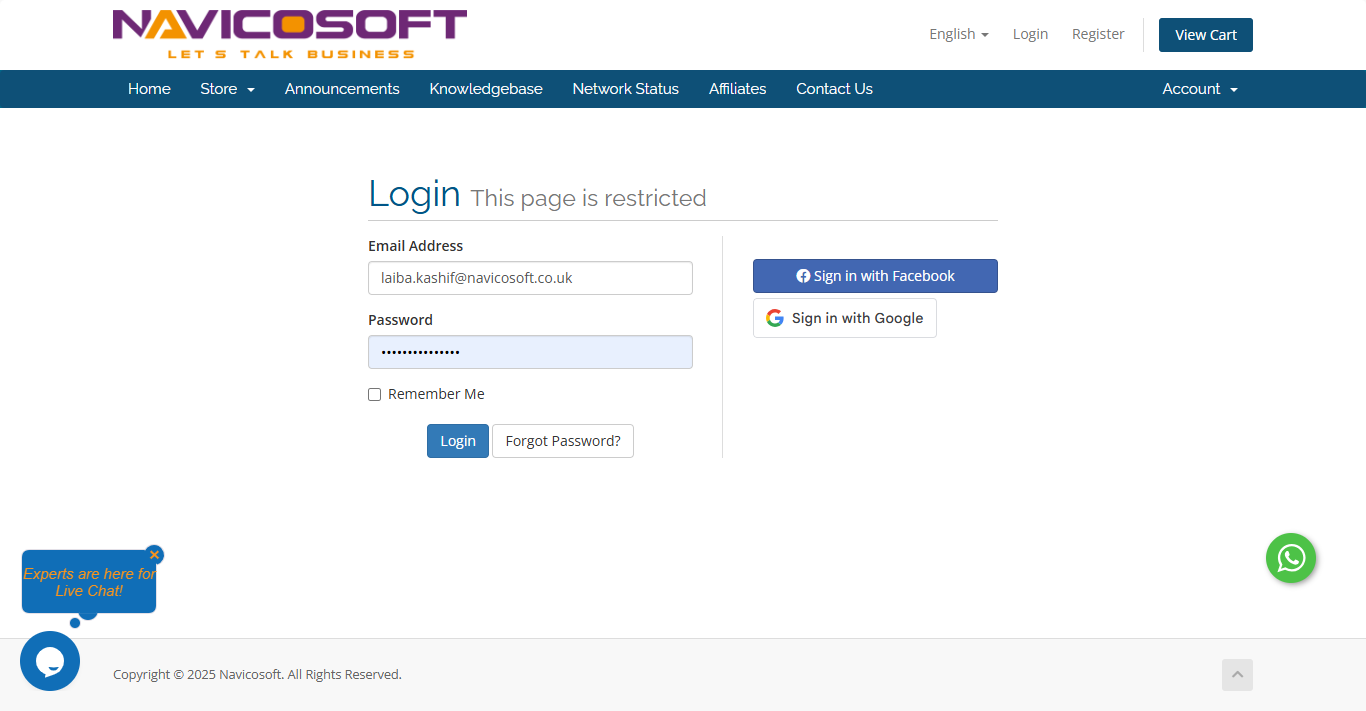
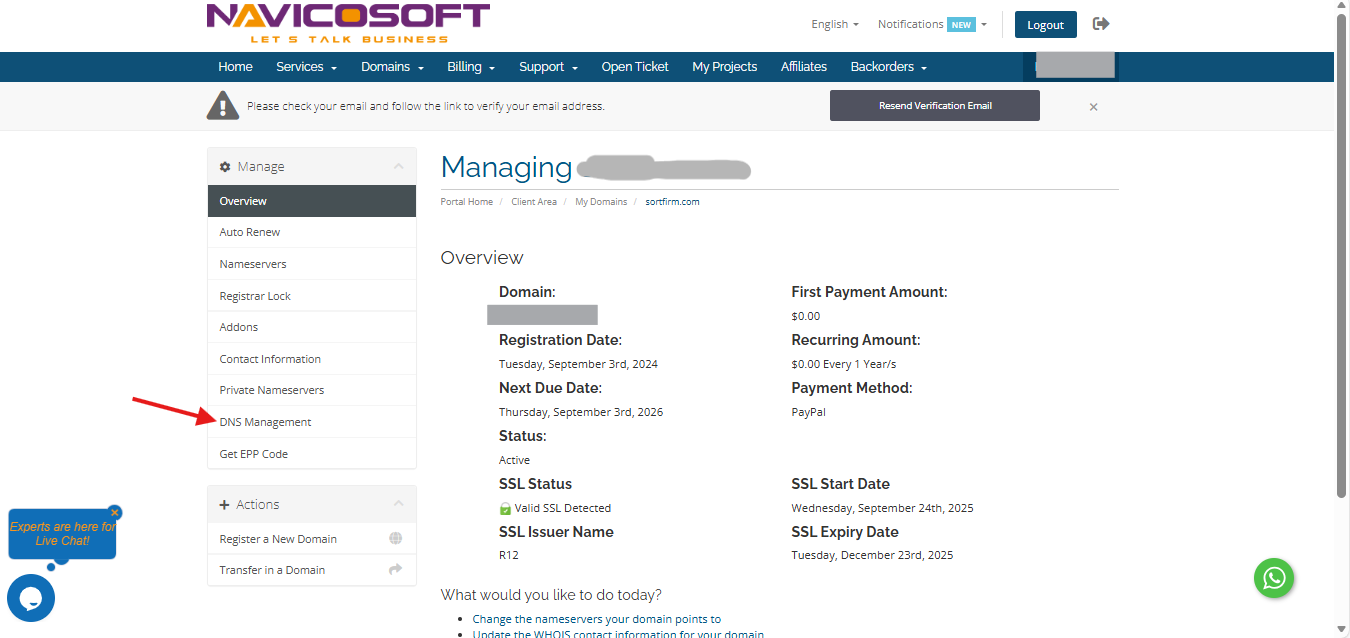
1. Access Your DNS Settings in Navicosoft
- Log in to your Navicosoft account.

![]()
- Select the domain you want to Manage the DNS

After that please click on DNS management
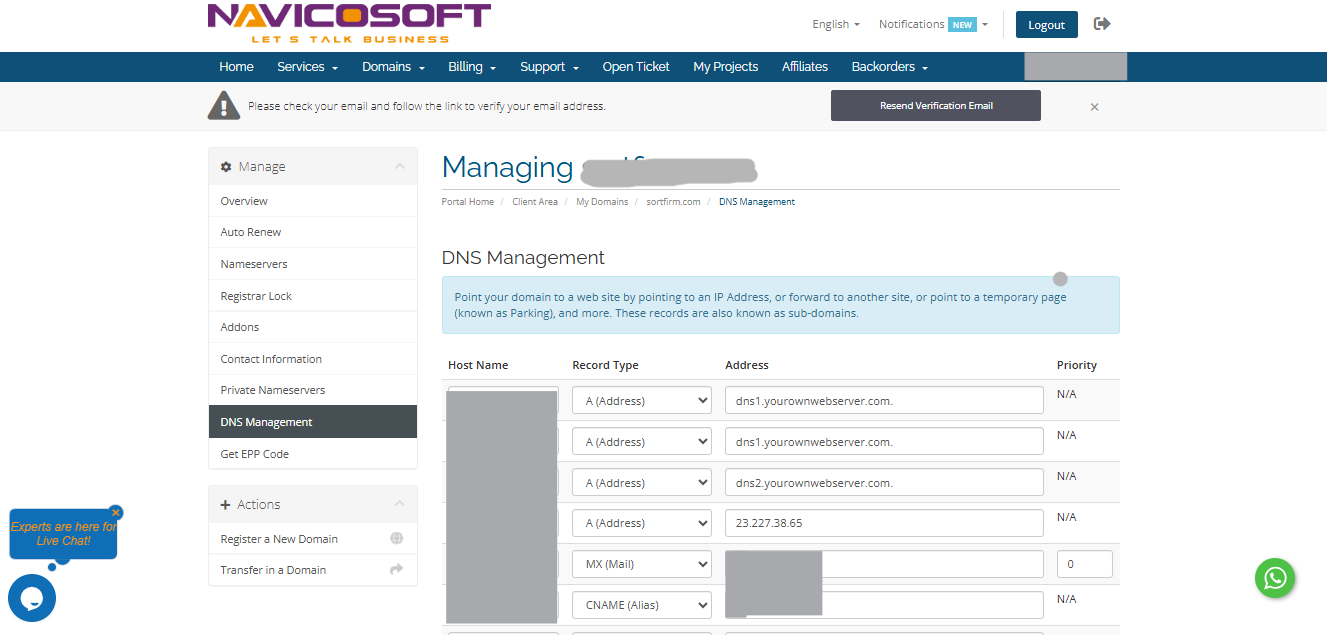
2. Add or Edit DNS Records
A Record
Purpose: Directs your domain to your website’s server.
Steps:
- Open the A Records section.
- Enter your domain or subdomain (
@for root,wwwfor subdomain). - Enter the IP address provided by your hosting service.
- Click "Save changes"
CNAME Record
Purpose: Redirects one domain to another.
Steps:
- Go to the CNAME Records section.
- Enter the alias (e.g.,
www). - Enter the canonical name (e.g.,
yourdomain.com). - Click "Save changes"
MX Record
Purpose: Routes email traffic for your domain.
Steps:
- Open the MX Records section.
- Enter the mail server details provided by your email provider.
- Set the priority (lower numbers = higher priority).
- Click "Save changes."
TXT Record
Purpose: Used for domain verification and email security (e.g., SPF, DKIM, DMARC).
Steps:
- Locate the TXT Records section.
- Enter the text string provided by your service provider.
- Click "Save changes."
3. Verify and Test Your Settings
- Propagation: DNS changes can take from a few minutes up to 48 hours to propagate worldwide.
- Check Records: Use tools like DNS Checker to confirm your records are active and correct.
- Troubleshoot: If your site or email is with Navicosoft and isn’t working, verify all records against the instructions provided by Navicosoft or else please directly contact the NAVICOSOFT SUPPORT.