How to Connect Your Navicosoft Domain to Shopify
If your domain is registered with Navicosoft, you can easily connect it to your Shopify store. Using a custom domain gives your store a professional look, builds brand trust, and improves search engine rankings.
This guide will walk you through the entire process step by step.
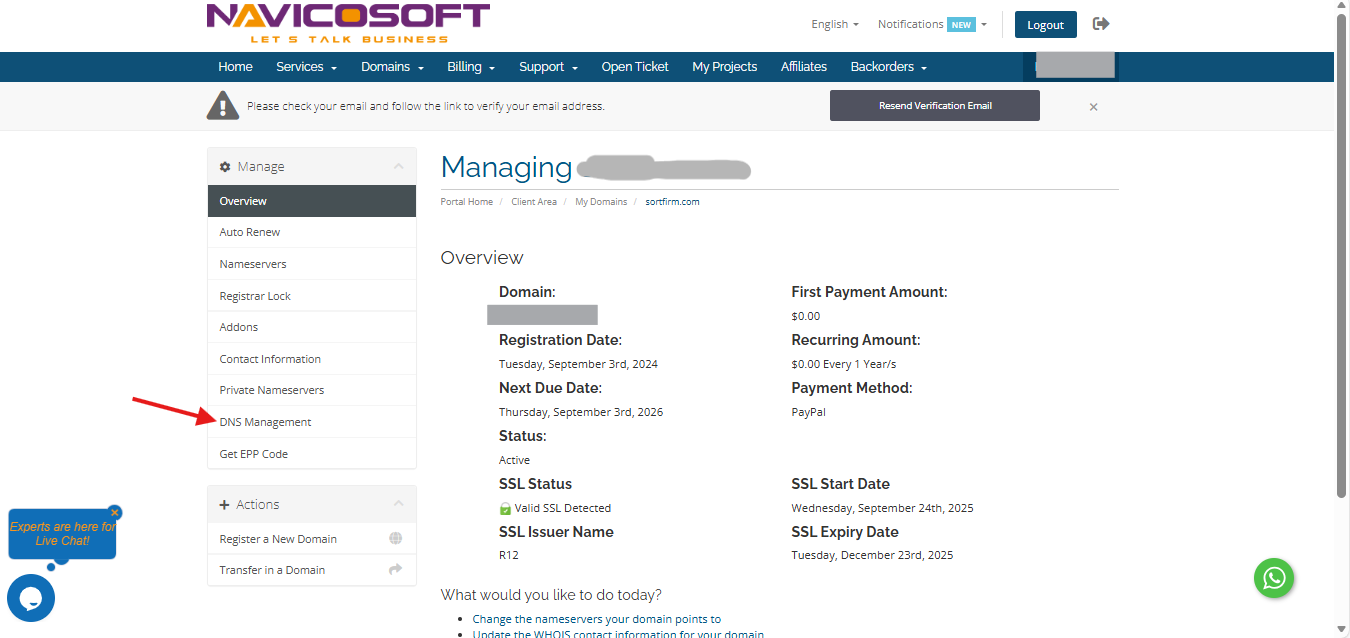
Step 1: Log in to Your Navicosoft Client Area


![]()
- Select the domain you want to connect to Shopify and click on "Manage Domain"

After that please click on DNS management
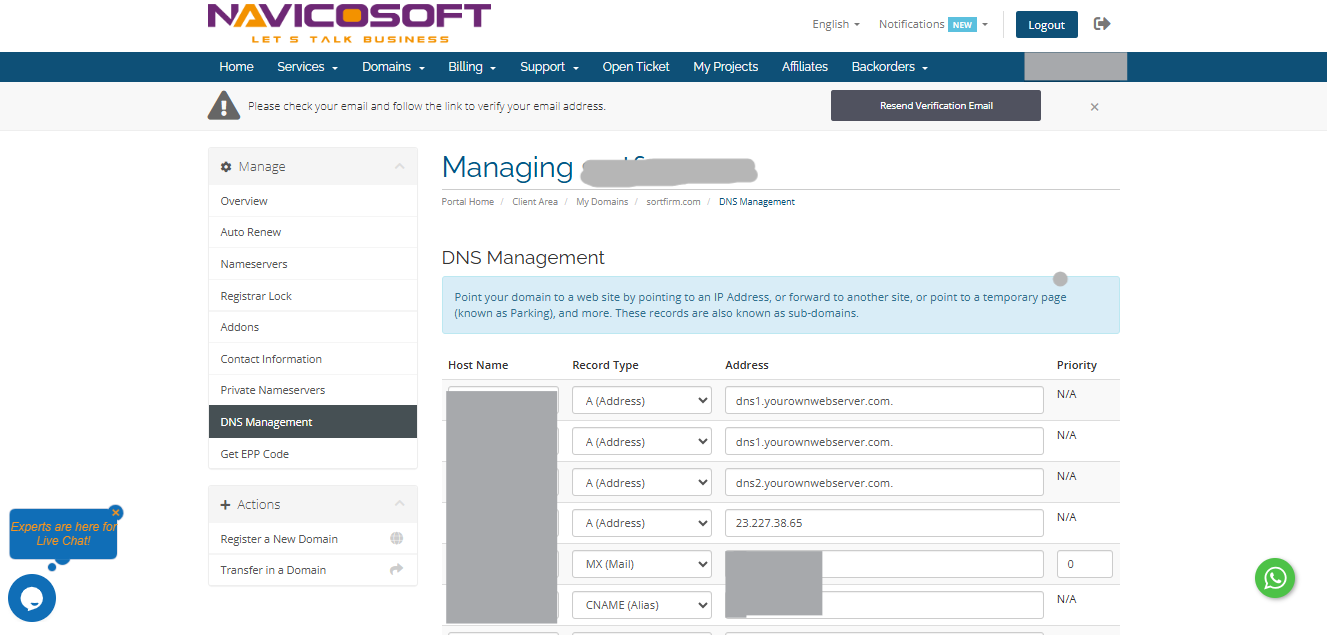
Update the A records
Note: An A record is required only when connecting the root domain (for example, shopify.com). If you're connecting a subdomain (for example, shop.shopify.com), then you only need to configure a CNAME record.
- Locate your A record, and then click Edit.
- Enter the following A record to your DNS settings:
- Type: A
- Name: @
- Points to: 23.227.38.65
- TTL: 1 hour
Click "Save changes"
Update the CNAME records
- Locate the CNAME record that has the name
www, and then click Edit. - Enter the following CNAME record to your DNS settings:
- Type: CNAME
- Name: www
- Content: shops.myshopify.com
- TTL: 1 hour
Click "Save changes"
![]()
Step 2: Connect your domain to Shopify
- From your Shopify admin, go to Settings > Domains.
- Click Connect existing.
- Type the name of the domain that you want to connect, and then click Next.
Step 3: Additional verification for your Shopify domain
As an additional security measure, your domain might require extra verification. This extra verification requires you to create a TXT record on the domain.
Steps:
Shopify verifies that the DNS records are correct. This can take a few minutes. You will be able to update the domain target & type after the domain is verified.