How to Set Custom Nameservers with a VPS on Ubuntu 24.04
This guide will walk you through setting up ns1.yourdomain.com and ns2.yourdomain.com directly on your Ubuntu VPS using BIND9, the most popular DNS server
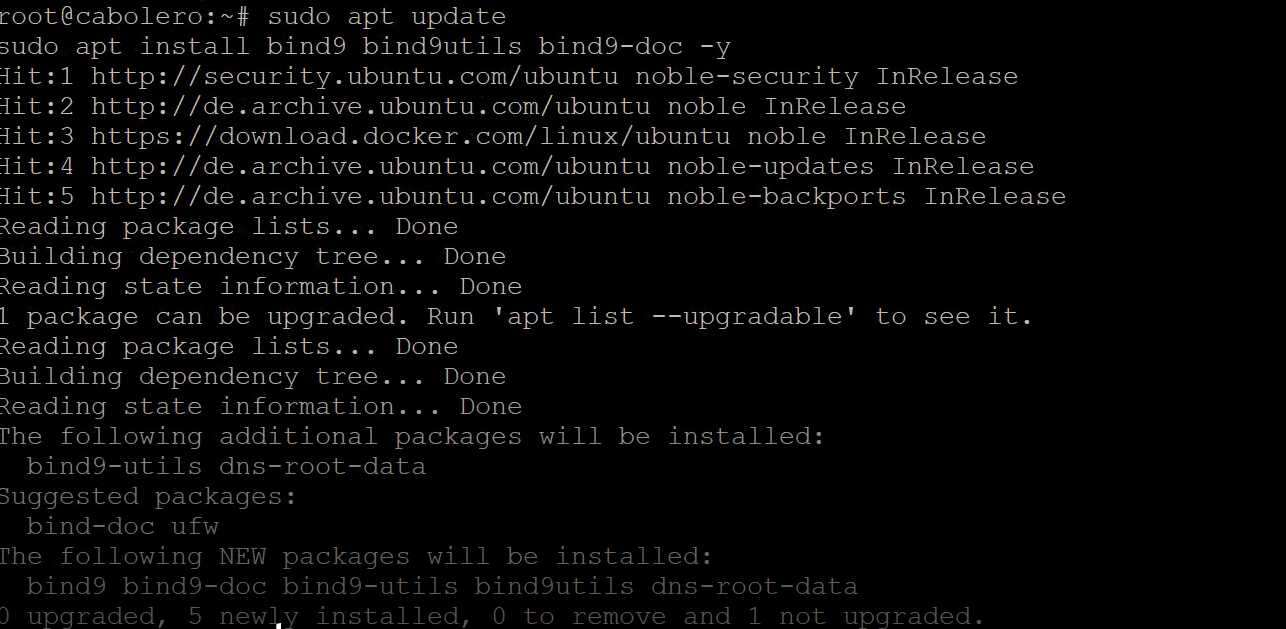
Step 1: Install BIND9 DNS Server
SSH into your server:
sudo apt update && sudo apt install bind9 bind9utils bind9-doc -y
Step 2: Configure Your DNS Zone
Assuming your domain is yourdomain.com, do the following:
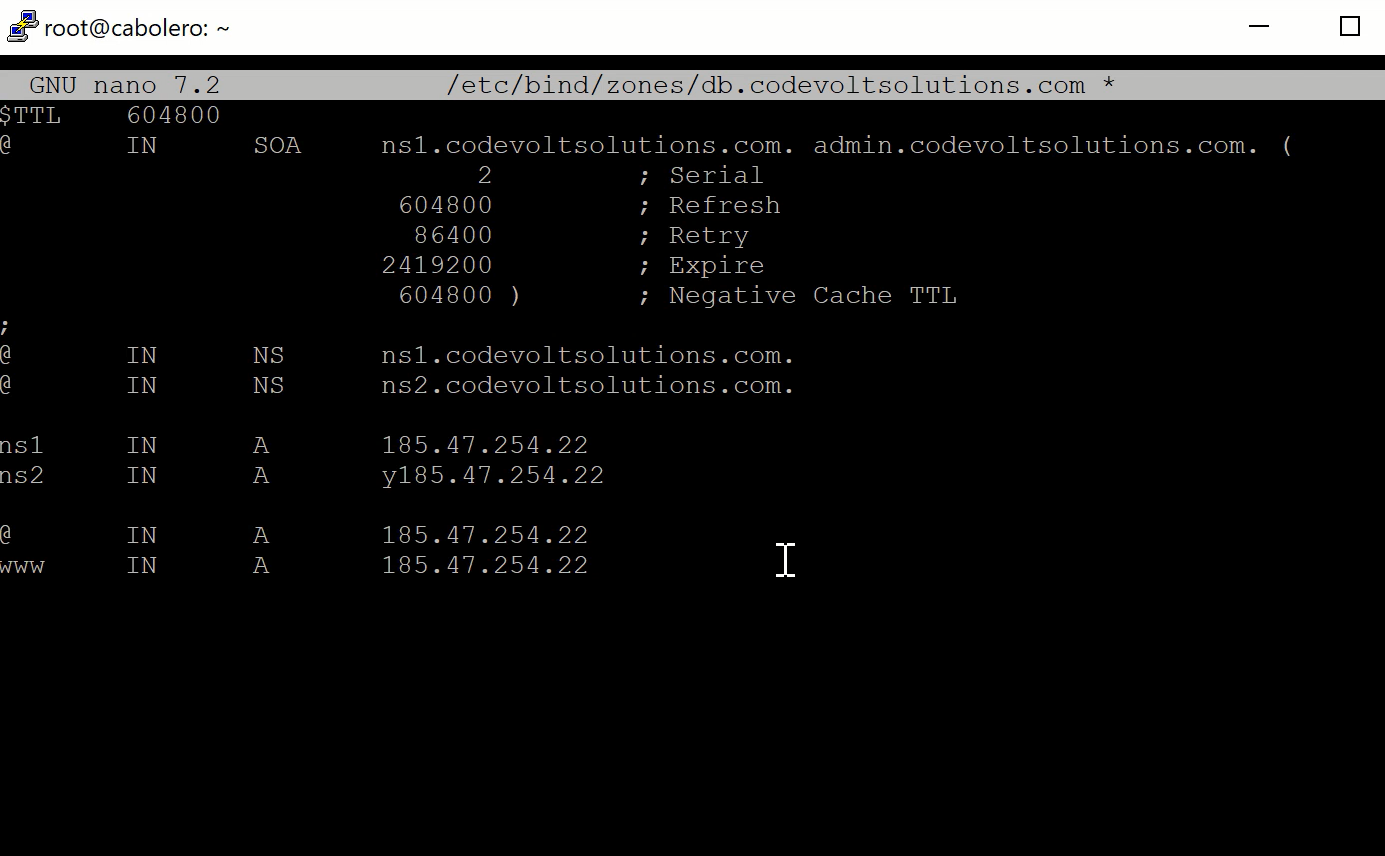
1. Create the zone file
sudo nano /etc/bind/zones/db.yourdomain.com
Paste this (edit the IPs and domain as needed):
$TTL 604800
@ IN SOA ns1.yourdomain.com. admin.yourdomain.com. (
3 ; Serial
604800 ; Refresh
86400 ; Retry
2419200 ; Expire
604800 ) ; Negative Cache TTL
; Nameservers
@ IN NS ns1.yourdomain.com.
@ IN NS ns2.yourdomain.com.
; A records
@ IN A 192.0.2.10 ; your VPS IP
ns1 IN A 192.0.2.10
ns2 IN A 192.0.2.11 ; second IP or same as above
; Example host
www IN A 192.0.2.10
2. Create zones directory (if not existing)
sudo mkdir -p /etc/bind/zones
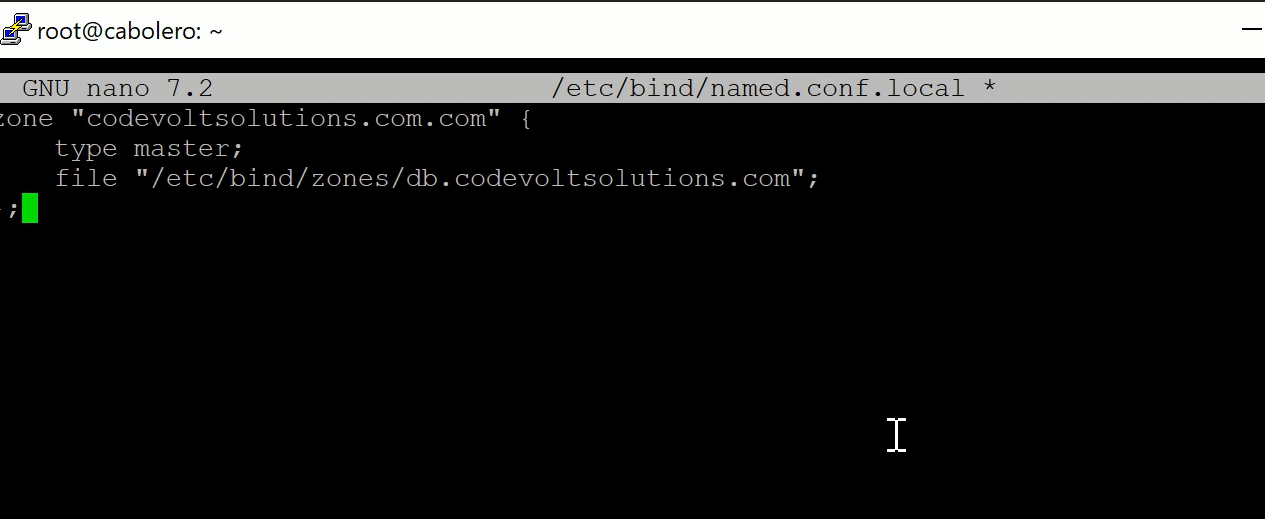
Step 3: Edit BIND Config
Add your zone to named.conf.local:
sudo nano /etc/bind/named.conf.local
Add:
zone "yourdomain.com" {
type master;
file "/etc/bind/zones/db.yourdomain.com";
};
Step 4: Check and Restart BIND
Check config syntax:
sudo named-checkconf
sudo named-checkzone yourdomain.com /etc/bind/zones/db.yourdomain.com
If all OK:
sudo systemctl restart bind9
sudo systemctl enable bind9
Step 5: Set Up Custom Nameservers at Your Domain Registrar
At your domain registrar:
- Go to “Register custom nameservers” or “Glue Records”
- Add:
ns1.yourdomain.com → 192.0.2.10ns2.yourdomain.com → 192.0.2.11
- Change domain nameservers to:
ns1.yourdomain.com
ns2.yourdomain.com
Step 6: Test It
Run these commands from a remote computer:
dig @192.0.2.10 yourdomain.com
dig @ns1.yourdomain.com www.yourdomain.com
You're Done!
You’ve now set up custom nameservers using BIND9 on Ubuntu 24.04. You can manage DNS for your domain from this VPS like a pro.